
Best iPhone 18 Pro Camera Settings: A Practical Guide for Better Photos and Video
The iPhone 18 Pro camera is capable of doing a lot without changing a single setting. But if you want more control over portraits, low-light shots, moving subjects or video, the default setup isn't always the best place to stop.
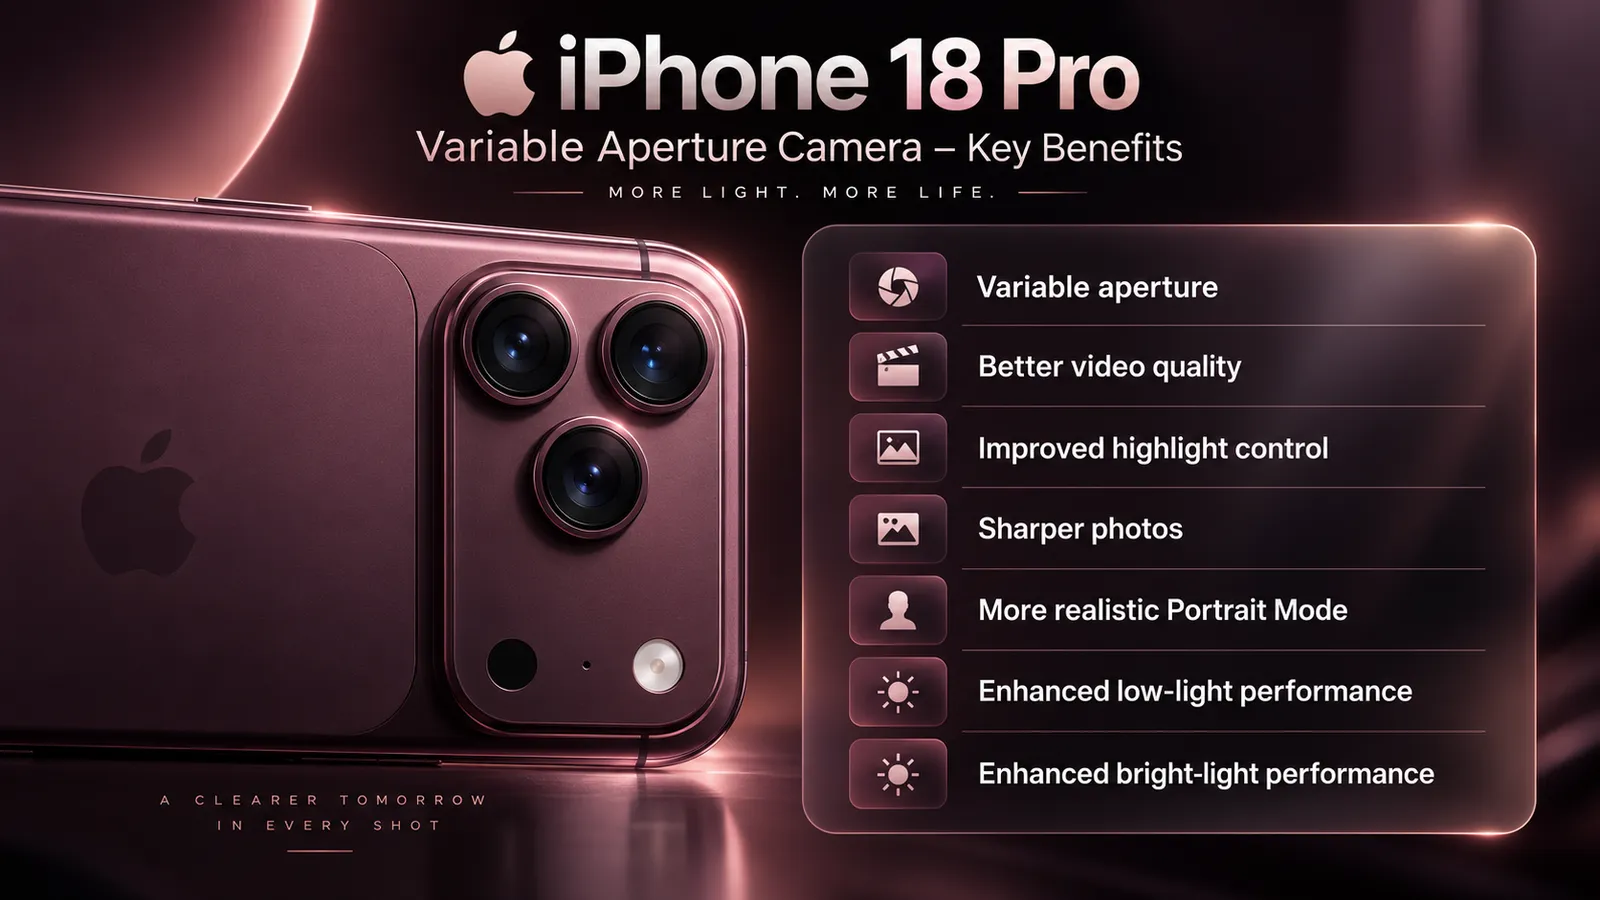
The biggest change this year is the variable-aperture 48MP Fusion Main camera. You can choose between ƒ/1.48, ƒ/1.8, ƒ/2.8 and ƒ/4.0, while Apple's new Pro Controls add manual control for aperture, shutter speed and white balance, plus a histogram.
That gives the iPhone 18 Pro more camera controls than previous iPhones, but you don't need to use everything manually.
Here's a practical starting point for getting better photos and video without turning the Camera app into a complicated photography setup.
Best iPhone 18 Pro camera settings at a glance
If you want a quick setup, start here:
Situation | Recommended setting |
|---|---|
Everyday photos | ƒ/1.8 |
Portraits | ƒ/1.8 |
Groups | ƒ/2.8 or ƒ/4 |
Low light | ƒ/1.48 |
Landscape | ƒ/2.8 or ƒ/4 |
Moving subjects | Faster shutter speed |
Night street photography | ƒ/1.48 + Night mode |
Film-style photos | Photographic Styles + grain |
Natural-looking photos | Moderate texture, little/no grain |
24fps cinematic video | 4K Dolby Vision 24fps |
Everyday video | 4K Dolby Vision 30fps |
Smooth action | 4K 60fps |
Slow motion | 4K Dolby Vision 120fps |
Professional video | ProRes / ProRes RAW + Apple Log 2 |
These aren't rules you have to follow for every shot. Think of them as starting points.
1. Set the Main camera to ƒ/1.8 for everyday photography
If you only remember one aperture setting, make it ƒ/1.8.
Apple describes ƒ/1.8 as the default setting and a balance between low-light performance and depth of field.
It's a good general-purpose choice because you get plenty of light without always pushing the camera toward its widest aperture.
Use it for:
Everyday snapshots
Family photos
Street photography
Portraits
Indoor photography
Travel photos
If you're not sure which aperture to use, start at ƒ/1.8 and let the iPhone handle the rest.
2. Use ƒ/1.48 for low-light photography
When light drops, switch to ƒ/1.48 if you're using the Main camera.
This is the widest aperture available on the iPhone 18 Pro's Main camera. Apple says it can provide around 50% better low-light performance and is designed for darker environments.
It's particularly useful for:
Restaurants
Indoor events
Evening street photography
Concerts
Night portraits
Dimly lit rooms
The wider aperture lets more light reach the sensor.
You don't necessarily need to manually select ƒ/1.48 every time you enter a dark room. The iPhone can adjust the aperture automatically based on lighting and depth-of-field requirements.
3. Use ƒ/2.8 or ƒ/4 for group photos
This is one of the more useful reasons to understand the new aperture controls.
A narrower aperture gives you more depth of field, which means more of the scene can remain in focus.
Apple specifically positions ƒ/4 for situations where you want more of a group in focus.
Try:
ƒ/1.8: small group or individual portrait
ƒ/2.8: larger group
ƒ/4: group where people are positioned at different distances
This can be particularly useful when you're photographing several people who aren't standing on the same plane.
4. Use ƒ/2.8 for landscapes and detailed scenes
For landscapes, architecture and scenes with objects at different distances, a narrower aperture can help keep more of the scene sharp.
Try ƒ/2.8 as your first option.
Move to ƒ/4 when you want maximum depth of field.
This is also useful for:
Buildings
Food photography
Product photos
Interiors
Travel scenes
Detailed outdoor shots
You don't need to use ƒ/4 simply because you're photographing a landscape. If the scene already looks sharp at ƒ/2.8, there's little reason to change it.
5. Use ƒ/1.8 for portraits
For a traditional portrait, ƒ/1.8 is a good starting point.
Apple says this aperture is optimised for a balance of light gathering and depth of field, and specifically highlights it for portraits.
It can give the subject stronger separation from the background while still allowing enough of the scene to remain recognisable.
For a single subject:
Start at ƒ/1.8.
For several people:
Try ƒ/2.8 or ƒ/4.
That gives you more control than simply relying on Portrait mode alone.
6. Turn on Pro Controls when you want manual control
The new Pro Controls are one of the main reasons the iPhone 18 Pro camera behaves more like a traditional camera.
They let you adjust:
Aperture
Shutter speed
White balance
Histogram
You can also bring frequently used controls closer to the top of the Camera app.
You don't need to manually control all four settings.
A good approach is to change one setting at a time.
For example:
Moving subject → adjust shutter speed.
Depth of field → adjust aperture.
Colour consistency → adjust white balance.
Exposure checking → use the histogram.
That keeps manual photography manageable.
7. Use a faster shutter speed for moving subjects
Shutter speed controls how long the camera captures light.
A faster shutter speed helps freeze movement.
Try a faster shutter when photographing:
Children running
Sports
Pets
Cars
Dancers
People walking quickly
Water movement
Apple specifically highlights shutter-speed control as a way to capture fast action with more detail.
The trade-off is that faster shutter speeds let in less light.
If you're shooting indoors, you may need a wider aperture or higher available exposure to compensate.
8. Use slower shutter speeds for creative motion blur
A slower shutter speed can intentionally introduce motion blur.
This can work well for:
Moving cars
Water
Crowds
Night scenes
Creative street photography
Instead of trying to eliminate movement, you're using it as part of the image.
This is one of the areas where Pro Controls can make the iPhone 18 Pro feel much more like a traditional camera. Apple specifically demonstrates shutter-speed control for creative motion blur.
9. Use the histogram before difficult exposures
The histogram is useful when the screen doesn't give you a reliable sense of exposure.
It shows how tones are distributed across the image, helping you spot scenes that are heavily weighted toward shadows or highlights.
It's especially useful for:
Bright skies
Snow
Stage lighting
High-contrast scenes
Backlit subjects
Night photography
You don't need to stare at it for every photograph.
Turn it on when you're dealing with difficult lighting and want a more reliable exposure reference.
10. Use white balance when colour consistency matters
Automatic white balance usually works well.
But manual white balance can be useful when you're shooting several images under the same lighting and want their colour to stay consistent.
For example, imagine photographing an event under artificial lighting.
If the colour temperature changes from one frame to another, a series of images can look inconsistent.
Locking your white balance can help maintain a more consistent appearance.
This is particularly useful for:
Product photography
Food photography
Indoor events
Interviews
Video
Multi-shot projects
The iPhone 18 Pro includes white-balance control as part of Pro Controls.
11. Try Photographic Styles 3 instead of editing every photo later
The iPhone 18 Pro introduces Photographic Styles 3, which adds texture and grain controls alongside tone and colour.
For everyday photography, don't push these settings too far.
A good starting point is:
Moderate texture
Little or no grain
Natural colour
Moderate tone adjustment
For a film-inspired look, increase grain and experiment with texture.
For portraits, reducing texture can give skin a softer appearance.
The advantage is that you can adjust or reverse the effects later rather than being permanently stuck with one look.
12. Use Smart Focus Tracking for moving subjects
The iPhone 18 Pro has Smart Focus Tracking, which can maintain focus on a subject as it moves through a scene, including when the subject leaves and re-enters the frame.
This is useful for:
Children
Pets
Sports
Performances
Walking subjects
Video creators
If your subject moves unpredictably, letting the phone track focus can be more practical than trying to maintain focus manually.
13. Choose 24fps for a cinematic video look
For video, frame rate changes the character of your footage.
The iPhone 18 Pro supports 4K Dolby Vision at 24, 25, 30, 60, 100 and 120fps, with the higher frame rates available through the Main camera as specified by Apple.
For a traditional cinematic frame rate, choose:
4K at 24fps.
This is a good option for:
Short films
Travel films
Cinematic sequences
Storytelling videos
14. Use 4K 30fps for everyday video
For everyday recording, 4K at 30fps is a practical default.
Use it for:
YouTube videos
Family videos
Travel
Interviews
Social media
General-purpose recording
It gives you high resolution without using the storage and processing requirements of higher frame rates.
15. Use 4K 60fps for action
Switch to 4K 60fps when you want smoother movement.
It's useful for:
Sports
Children
Pets
Walking footage
Fast camera movements
Travel videos
The iPhone 18 Pro also supports Cinematic mode up to 4K Dolby Vision at 60fps.
16. Use 4K 120fps for slow motion
For dramatic slow motion, the iPhone 18 Pro supports 4K Dolby Vision up to 120fps using the Fusion Main camera.
Use it for:
Sports
Water splashes
Dance
Action
Moving vehicles
Creative sequences
Remember that 120fps needs more light than 24fps or 30fps. In darker conditions, lower frame rates may produce better-looking footage.
17. Use Cinematic mode when you want depth effects
The iPhone 18 Pro supports Cinematic mode up to 4K Dolby Vision at 60fps. It also lets you apply Cinematic effects to compatible video after recording.
This is useful for:
Interviews
Short films
Talking-head videos
Storytelling
Portrait-style video
The ability to adjust the effect after shooting is particularly useful because you don't have to decide everything while recording.
18. Use ProRes when you're actually going to edit the footage
ProRes is aimed at more demanding video workflows.
The iPhone 18 Pro supports ProRes recording up to 4K at 120fps with external recording, along with ProRes RAW and Apple Log 2.
Use these formats when you're planning to:
Colour grade footage
Edit professionally
Combine iPhone footage with other cameras
Maintain more flexibility during post-production
For a normal Instagram or family video, ProRes is usually unnecessary.
It creates much larger files and adds work to your editing process.
19. Use Apple Log 2 for serious colour grading
If you're planning to colour grade your footage, Apple Log 2 is one of the more useful professional video settings on the iPhone 18 Pro.
Apple lists Apple Log 2 alongside ProRes RAW and Genlock as part of its professional video feature set.
If you're not going to colour grade your footage, stick with a standard video format.
Log footage is designed for a post-production workflow, not for recording and immediately sharing without adjustments.
20. Use Audio Mix when the sound needs editing
Good video needs good audio.
The iPhone 18 Pro has four studio-quality microphones, Spatial Audio and stereo recording, wind noise reduction and Audio Mix.
Audio Mix can separate music and voices from unwanted background noise, which is particularly useful for performances and videos recorded in busy environments.
If you're recording a person speaking, don't rely entirely on software. Getting the microphone close to the subject still matters.
21. Keep 1x as your everyday camera
The 1x Main camera should be your default for most photography.
It has the variable-aperture 48MP Fusion Main camera and gives you the widest range of control. The system also provides optical-quality 2x from the Main camera.
Use:
1x for everyday photos
2x for portraits and tighter compositions
4x for distant subjects
8x when you need additional reach
The iPhone 18 Pro offers up to 8x optical-quality zoom and a 16x optical-quality zoom range.
22. Use 2x for portraits when you have room
The 2x option is useful when you want a tighter composition without moving extremely close to your subject.
It's often a good choice for:
Portraits
Food
Products
Details
Street photography
The 2x option comes from the Main camera and is listed by Apple as a 48mm optical-quality option.
If you're photographing a person, try stepping back slightly and using 2x rather than getting very close with 1x.
23. Use 4x or 8x when distance matters
The Telephoto camera provides 4x at 100mm and an 8x optical-quality option at 200mm.
Use 4x for:
Portraits from farther away
Stage performances
Street details
Travel photography
Use 8x when the subject is genuinely far away.
Don't automatically use the longest zoom just because it's available. Higher magnification makes camera movement more noticeable and can make framing harder.
24. Best settings for common situations
Here's a practical cheat sheet.
Portraits
Try:
Main camera
2x
ƒ/1.8
Photographic Styles with moderate texture
Smart focus tracking for moving subjects
For groups, move toward ƒ/2.8 or ƒ/4.
Night photography
Try:
Main camera
1x
ƒ/1.48
Night mode
Keep the phone stable
Apple says the iPhone 18 Pro can automatically widen the aperture in darker environments to let in more light.
Landscapes
Try:
1x or 2x
ƒ/2.8
ƒ/4 for greater depth of field
Histogram for high-contrast scenes
Sports
Try:
2x, 4x or 8x depending on distance
Faster shutter speed
Smart focus tracking
4K 60fps for video
Food
Try:
1x or 2x
ƒ/1.8
Moderate texture
Natural colour
Street photography
Try:
1x or 2x
ƒ/1.8
Photographic Styles 3
Small amount of grain for a film-inspired look
YouTube videos
Try:
4K 30fps
Smart focus tracking
White balance locked when lighting is consistent
Audio Mix when needed
External microphone for higher-quality production
Cinematic video
Try:
4K 24fps
Cinematic mode when appropriate
Apple Log 2 if you're colour grading
ProRes if your editing workflow requires it
Slow motion
Try:
4K 120fps
Good lighting
Stable framing
25. Don't change every setting at once
One of the easiest ways to make the iPhone camera harder to use is to manually change everything.
You don't need to.
Start with the automatic camera and add manual control only when you have a reason.
For example:
Photo looks too flat? Try Photographic Styles.
Portrait background isn't separated enough? Try aperture control.
Moving subject is blurry? Try shutter speed.
Several people aren't staying sharp? Try ƒ/2.8 or ƒ/4.
Video looks too dark indoors? Consider a lower frame rate and the camera's low-light processing.
This approach is much easier than trying to operate the iPhone 18 Pro like a fully manual mirrorless camera for every shot.
Best iPhone 18 Pro camera settings: Recommended setup
If you want a simple everyday configuration, start here:
For photos
Main camera: 1x
Aperture: ƒ/1.8
Photographic Styles: Natural-looking tone and colour
Texture: Moderate
Grain: Low or off
Smart Focus Tracking: On when photographing moving subjects
Pro Controls: Use when you need manual aperture, shutter speed or white balance
For everyday video
Resolution: 4K
Frame rate: 30fps
HDR: Dolby Vision
Focus: Smart focus tracking when needed
Audio: Spatial Audio/stereo
Audio Mix: Adjust after recording when background sounds are a problem
For cinematic video
Resolution: 4K
Frame rate: 24fps
Cinematic mode: Use when the depth effect fits the scene
Apple Log 2: Only when you're planning to colour grade
ProRes: Only when your editing workflow needs it
For action
Photo: Faster shutter speed
Video: 4K 60fps
Slow motion: 4K 120fps
Focus: Smart focus tracking
Do you need to use Pro Controls all the time?
No.
That's probably the most useful thing to remember about the iPhone 18 Pro camera.
Apple designed the variable-aperture Main camera to adjust automatically for lighting and depth of field. Pro Controls are there when you want to take over.
For everyday photos, automatic shooting will often be the fastest option.
Use manual controls when you have a specific problem to solve or a particular look you want.
That's when the new camera system becomes much more useful.
Best iPhone 18 Pro camera settings: Final recommendations
The best iPhone 18 Pro camera settings aren't one fixed combination.
For everyday photos, ƒ/1.8 is a good starting point. Move to ƒ/1.48 in low light, and use ƒ/2.8 or ƒ/4 when you need more depth of field.
For portraits, try 2x at ƒ/1.8. For groups, consider a narrower aperture. For action, increase shutter speed. For video, 4K 30fps is a practical everyday choice, while 4K 24fps works well for cinematic footage and 4K 120fps is the choice for slow motion.
The bigger point is not to find one perfect setting and leave it there.
The iPhone 18 Pro gives you more control because different situations need different settings. Once you know when to change aperture, shutter speed, frame rate and Photographic Styles, the camera becomes much easier to get the results you want from.
Comments
No comments yet — be the first to comment.